Friday, July 4, 2014

Mrs. Fields Copycat Cookies

Need a yummy cookie for tonights festivities? Desserts are what the 4th needs! Give these delicious babies a try!


Ingredients:
1 lb. - Butter (Softened)
1 1/2 C. - Sugar
2 C. Brown Sugar
2 Tbl. - Vanilla
3 - Large Eggs
4-6 C. - Flour
1 1/2 tsp. Salt
1 1/2 tsp. Baking Soda
3-4 C. - Chocolate Chips

(Bake at 350 for 8-10 minutes)
This is my families recipe card. 
All Ingredients

Beat your eggs.

Take your bitter........
.........melt it if you need


Mix butter, eggs and vanilla.

Add Sugar, brown sugar, salt and baking soda.

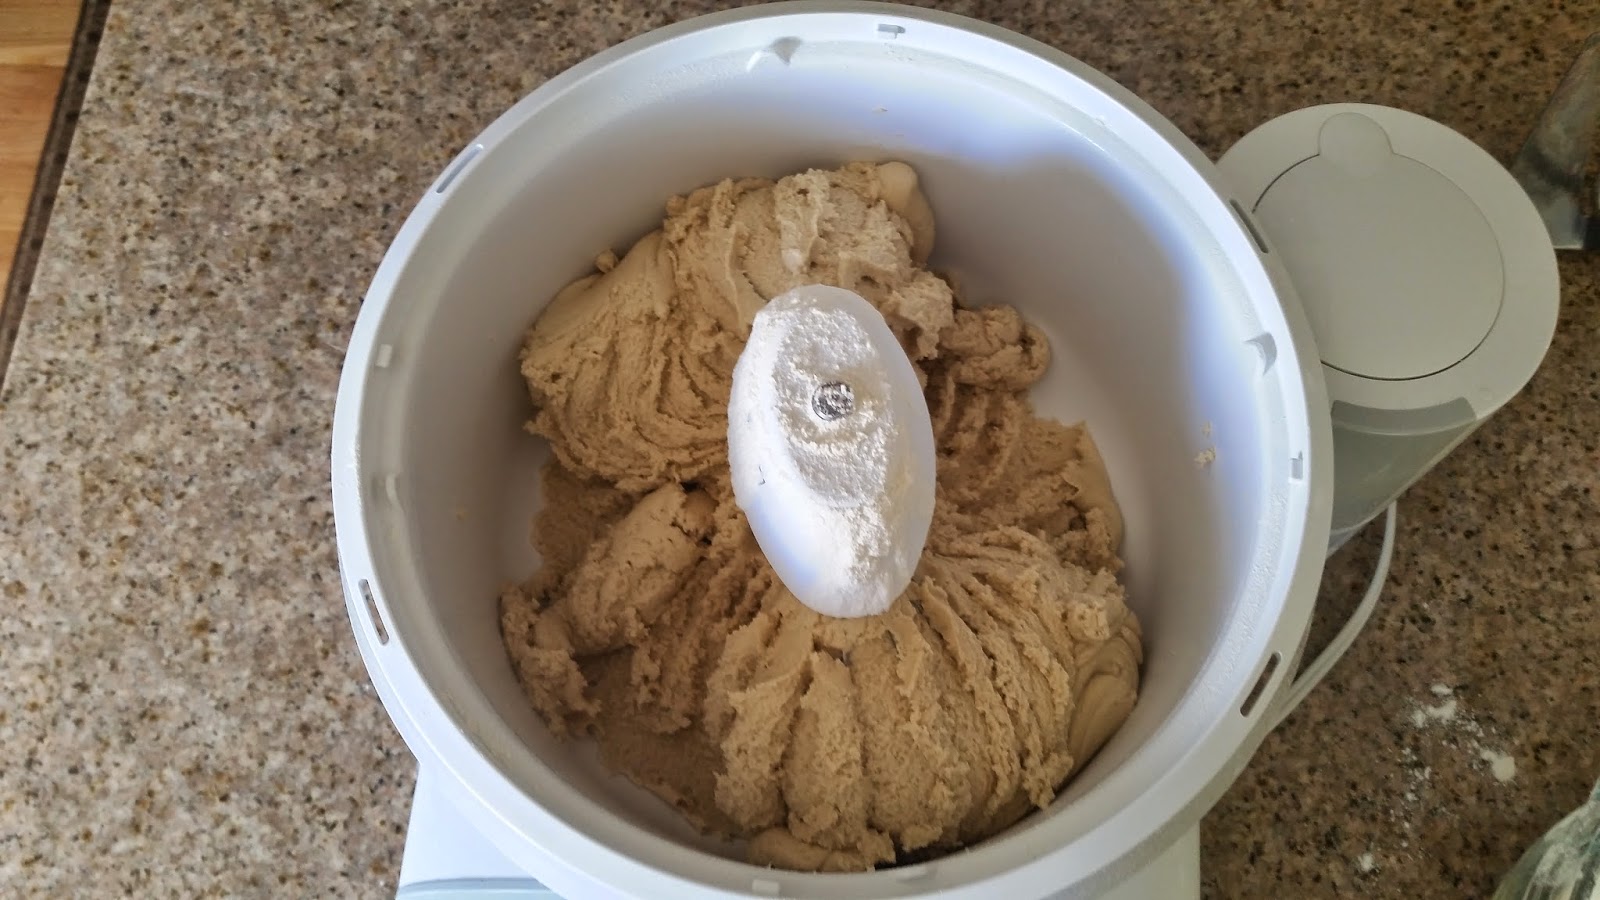
This is what t should look like after being mixed.

Slowly add your flower. Depending on where you are, you may need more or less.

This is how it should look after adding all of your flour.

I added 5 cups. T'his isthe 1 cup I had left over.

Add your chocolate chips.


Note: I have to put a brag note here about the above picture. These things are amazing! I can't cook without them! These silicone baking mats are the best thing to cook with. You can get them at any baking store. They make it so you don't have to pout non-stick spray on your pans and makes it so they don't get dirty. Super affordable and, I must say, are a cooking essential!

Once your dough is complete, pick a scoop size ( I choose the one on the right)
You can also use your hands and have a fun mess with these.

Evenly space out your cookies and allow for them to spread.

I pull out tin foil so I can keep making my scoops and just transfer them to the pan.

Pre-heat your oven to 350 and cook for 8-10 minutes.
The smaller your cookies, the less time needed.
I cooked mine for 8 minutes.

Cook until there is a golden brown bottom and slight browning to the tops.

Place on a cooling rack with paper towels or kitchen towel.
This will cook and absorb some of the extra oil from the butter.


And Wa-La! You have a great cookie that will put a smile on everyones face. Remember not to eat the dough (or eat very little of it) because there are eggs.


I hope you enjoy this recipe! Please let me know if you have any problems or if you have any comments!

Tuesday, June 24, 2014

'Grandpa' Pallet Sign

If you are like me, you think that Fathers Day and Mothers Day are just another day for everyone to go out and spend a ton of money. I don't like to do that. I believe that these days are meant for crafts or even a service. For Mothers Day I received a clean car! Best gift ever!

So with that in mind, I went to Pinterest to see what I could find. I found this cool sign that someone sells and thought, I could make that out of pallets. So I did. Here is how I made it all work.


Always break down your pallet and select your boards carefully. Using safety glasses and gloves can help prevent injuries.   After selecting your boards, always prep your wood by sanding.


Now you are ready to begin!!

Materials needed are:
-Pallet Boards (4 with this sign)
-Cup of Water
-Bowl for Paint
-Paint
-Paint Brush
-Towel for dabbing


1. If you want to make more of a stain, get the board wet with water then apply paint. Use the towel to dab up excess paint. If not, you can just paint the boards the color you prefer. My father-in-law works for BYU so we went with a BYU blue and did a stain affect.


2. Once your boards are all painted and dried, mark them the length you are wanting. You can use any form of marker, just make sure that if you use a sharpie, or pen that bleeds, that you sand off the extra marks. Then using whichever kind of saw you have, cut the boards to the desired length. You can do this before or after you start painting. If you do it after, like I did, Just make sure to paint the end that was cut.


3. Remeasure your boards to make sure they are at the desired length you want. Make adjustments if necessary. My sign was 13 1/2 in. X 20 in.

4. Using pieces of the boards you just cut of another pallet slat, Measure the the height of your boards and prepare to screw them in. The screws I used were 1 1/4 in. screws.

**Note: If your boards are too hard to just screw into, use a drill bit first, but be careful not to go too far. I will show this in another post.


5. Once your boards are all put together, stencil out the letter of what you want your sign to say. Stencil in pencil as to not leave behind any marks. Then paint them in. You can also use vinyl lettering if you prefer.


6. Now you are ready to attach your hanger. You can use whatever you like. For this project we used thick Jute and a staple gun to attach it to the boards.


7. You are done! Ready to be hung as an awesome handmade craft for you or another!


Friday, June 13, 2014

Spinach - Chicken Stramboli

Need a yummy dinner for your family? Give this new recipe a try! Found in the book Our Best Bites by Sara Wells and Kate Jones. 

This was a crowd pleaser even among the pickiest of the eaters.


Ingredients:
1 Dough Recipe - Found at this link.
2 tsp. Olive Oil, this will be used at different times.
1 1/2 tsp. Italian Seasoning
3 1/2 Tbsp. Canned Parmesan - I used a bag of shredded.
1 1/2 C. Loosely Packed Spinach
2 C. Shredded Chicken
2 Diced Roma Tomatoes
Pasta Sauce for Dipping

1) Preheat oven to the temperature indicated for your type of dough (If you use the dough above, preheat to 425).
2) Working on a floured surface, roll out dough into a 12x15 inch rectangle. Brush 1 1/2 tsp olive oil over entire surface of crust. Evenly sprinkle Italian seasoning and 2 Tbsp Parmesan on top.
3) Keep remaining toppings 1 inch away from all edges, evenly spread the spinach , chicken, and tomatoes over dough.
4) Working from the long end of the dough, roll up from one end to the other (like a cinnamon roll). Pinch seam shut and then pinch each end shut and tuck under toward seam.
5) Place seam-side down on a baking sheet sprayed lightly with nonstick spray. Brush remaining 1/2 tsp. olive oil on top and sprinkle remaining Parmesan on top. Gently cut 3 slits along the top of the Stromboli
6) Bake in oven for 15-20 minutes or until the top is golden brown. Let cool for 10-15 minutes before cutting into 1 inch slices. 
7) Serve with you favorite pasta sauce. Enjoy

Notes:
WE added aritchoke hearts the 2nd time around. They made it that much better!


Saturday, February 8, 2014

Doily Cards


While in St. George I needed a craft to do while my little guy was napping! I found these on Pinterest and was instantly intrigued! I had to give them a try! Spray painted cards with Doily's!


What you will need (shown below):
-1 pack of paper doily's (If you can find some with different patterns, I highly recommend that).
-1 can of colored spray paint, I chose a color I would be using again (they have mini sizes for smaller projects now.)
-1 pack of plain cards with or without envelopes.
-A form of backing to spray onto (I chose lines paper. I didn't have any newspaper.)


 Take your backing and lay it out, giving yourself plenty of space to work and have over spray.
**One note here, after your first few cards, the backing will get full of paint. Replace it every so often so that your paint doesn't get on the inside of your cards and make a mess.**


Place your card on the backing. Add doily's. Use a stabilizer on the doily's. The forced air from the spray paint will move then and create a shadowing effect.


Now you are ready to spray your cards!


Remove doily's carefully so you don't smudge your paint.
Repeat with all your cards and give ample time to dry.


When completed, you will have a design all of your own!